Want to know how to containerize an ASP.NET Core application the quick and dirty way? You’re in the right place.
Pre-Requisites
- Visual Studio 2017 or greater
- Docker Community Edition for Windows
- Windows 10
The Shortcut
I highly recommend that you understand the basics and fundamentals of Docker and containerization first. I also understand if you want to get something going to “visualize” it.
Assuming you have an existing ASP.NET Core application with .NET Core, you will be able to use Visual Studio to quickly containerize it. Visual Studio will create a Dockerfile for you and also allow you to run your application within a container. You’ll also be able to set breakpoints and use the debugger as you would normally.
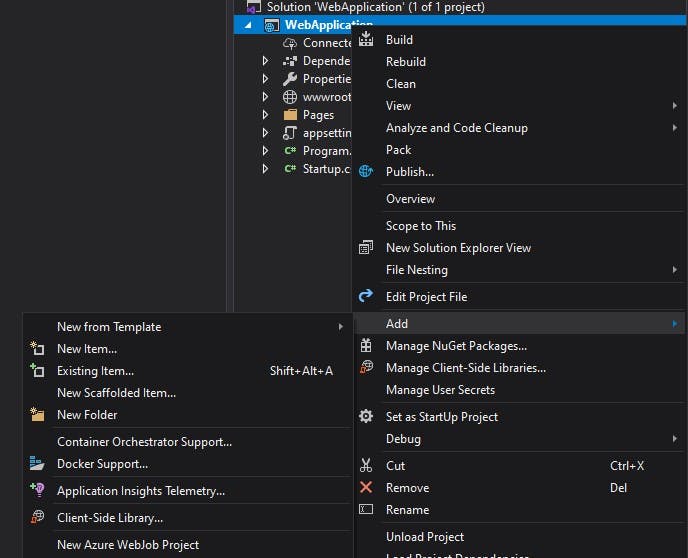
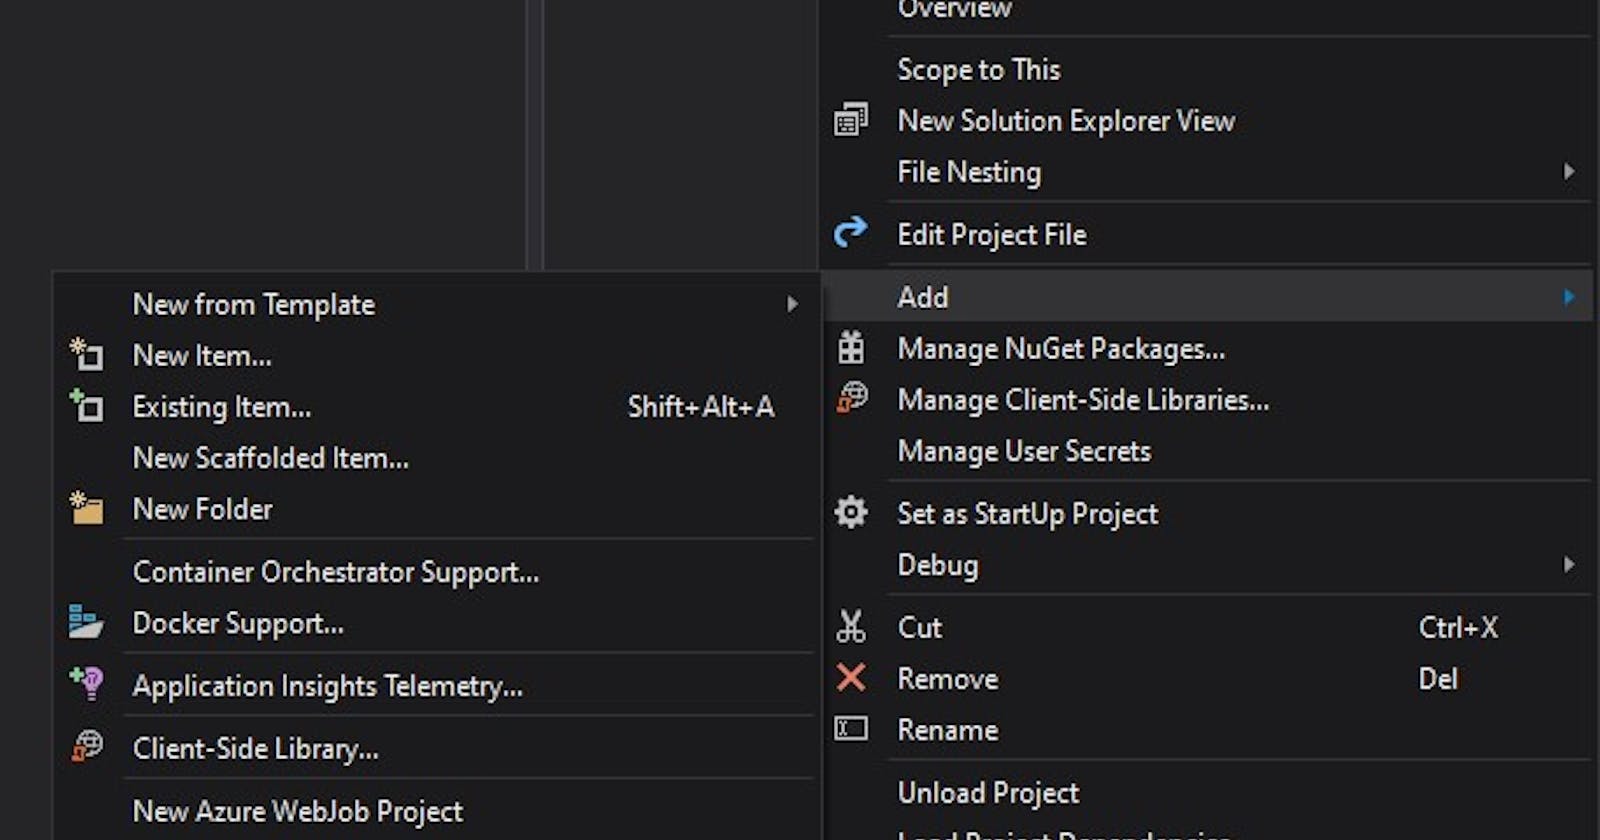
Start by right-clicking on the project, then selecting “Add”, then “Add Container Support.”

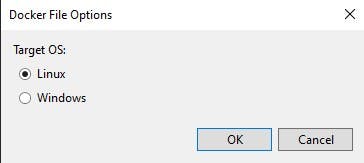
Then select “Linux”.

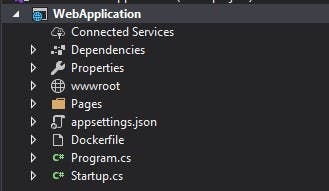
Now, you will notice a new “Dockerfile” under your project.

You’ll also see a new Docker debugging option. As I alluded, it will run your application within a container and attach the debugger to it through the use of volume mounts.

That’s it! The Dockerfile that gets created is fairly well built. It’s a great starting point. It’s also a multi-stage Docker build so the end result is a fairly small container.
If your experience is anything like mine, you’ll probably end up modifying the Dockerfile, especially as you start creating more projects or you start adding unit test projects. At this point, and if you haven’t already, it’d be worthwhile going through a course like getting started with Docker.
Side Note: As I’m writing this, it looks like Microsoft documented how Visual Studio builds containerized apps. I have spent significant time trying to figure out how it all works when I have to troubleshoot. So, it’s a good read for later.
Tomorrow, I’ll mention how to create a quick and dirty Helm chart for an ASP.NET Core application.

